(up-dated 5/March./2013)
21/August/2012
![]()

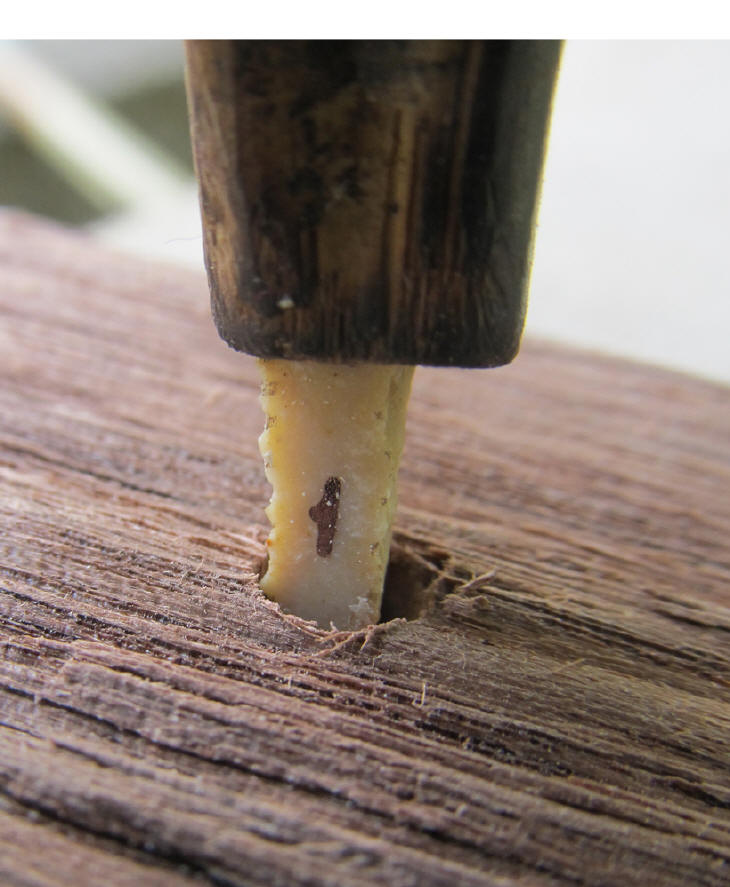
Drilling Template #1 with a Crescent Quarry Burlington chert micro-drill , set in a river cane handle. Template weight:8.1g. Drill handle length: 73.4 cm.

![]()
![]() Drilling Template #2 with a Crescent Quarry Burlington chert micro-drill, set in
a river cane handle. Template weight: 7.8g. drill handle length: 62.1cm.
Drilling Template #2 with a Crescent Quarry Burlington chert micro-drill, set in
a river cane handle. Template weight: 7.8g. drill handle length: 62.1cm.
 (Obverse)
 (Reverse) This Reed Springs chert
reamer was used to enlarge the perforations, made by the micro-drills. They were
enlarged enough to permit the river cane core-drill to fit snugly into the
walnut templates.
(Reverse) This Reed Springs chert
reamer was used to enlarge the perforations, made by the micro-drills. They were
enlarged enough to permit the river cane core-drill to fit snugly into the
walnut templates.
To watch Larry's U-tube video on reaming template #1, go to: http://www.youtube.com/watch?v=chtQchg3Oss&feature=youtu.be&noredirect=1
For the videos on template #2, go to:
http://www.youtube.com/watch?v=8OcG1hOasR4&feature=plcp
http://www.youtube.com/watch?v=GQULS6SNqfU&feature=plcp

 The chert reamer,
after use.
The chert reamer,
after use.
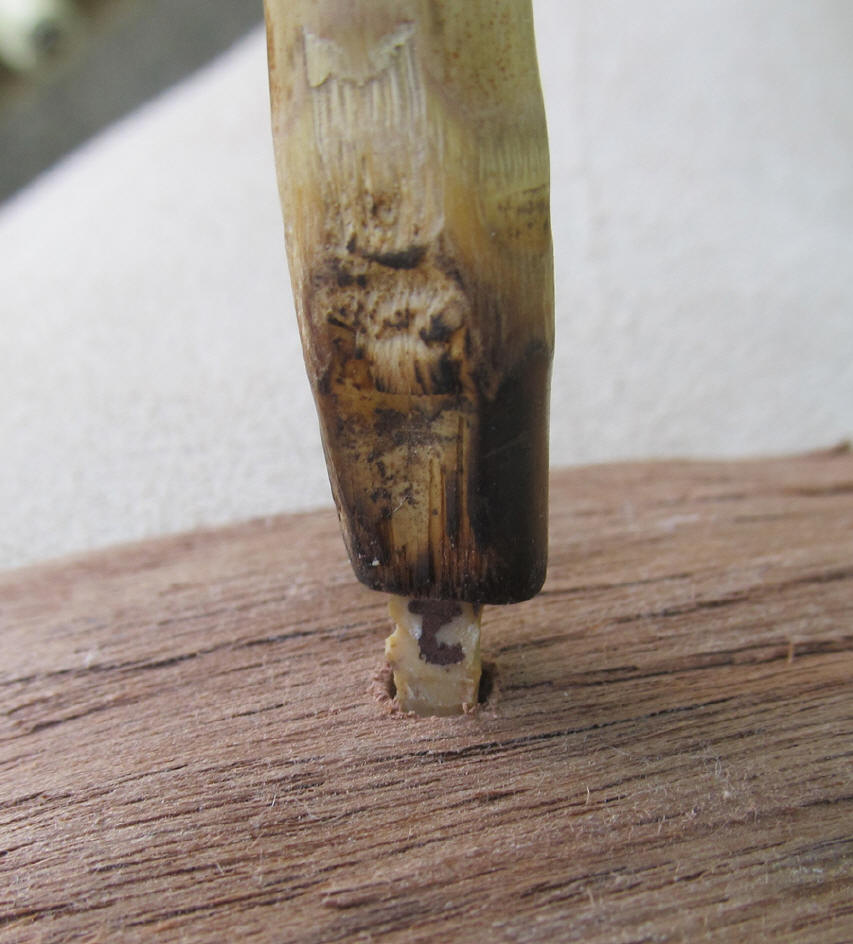
![]() This is the river cane core-drill, prior to use.
This is the river cane core-drill, prior to use.
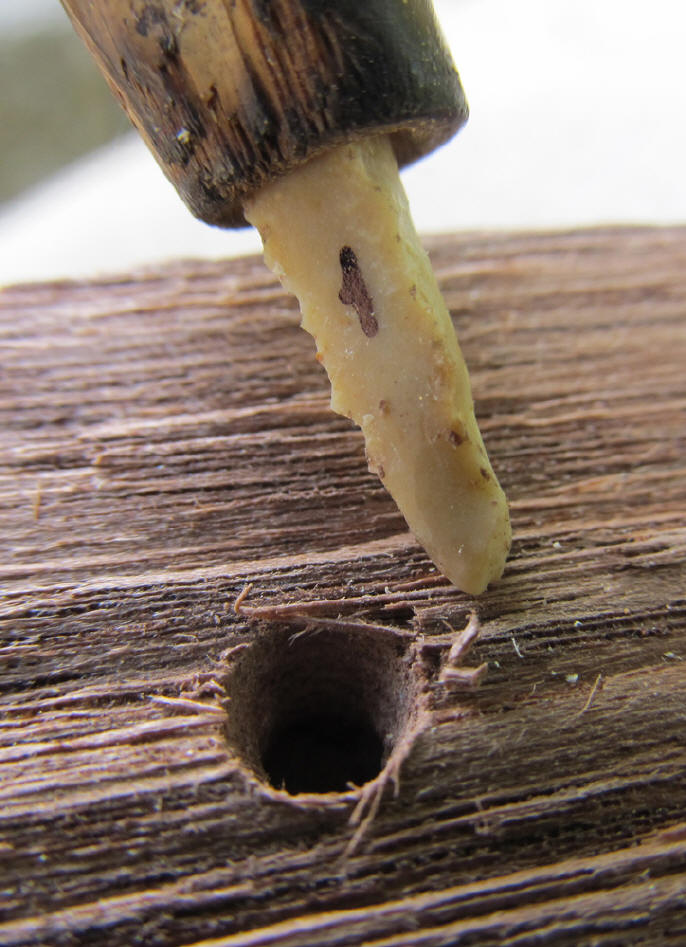
 Micro-drill #1, prior to use.
 Micro-drill #1, after being used to drill the walnut
template.
Micro-drill #1, after being used to drill the walnut
template.
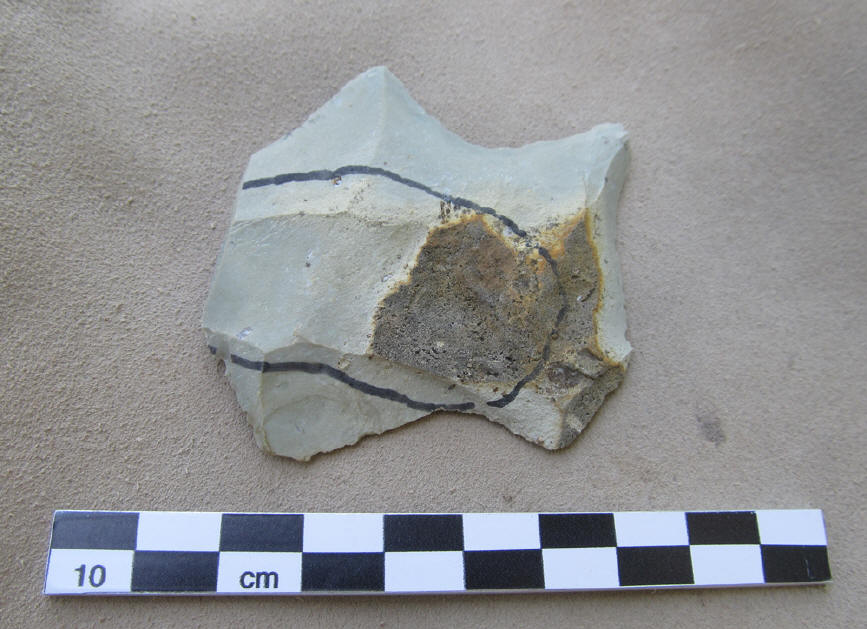
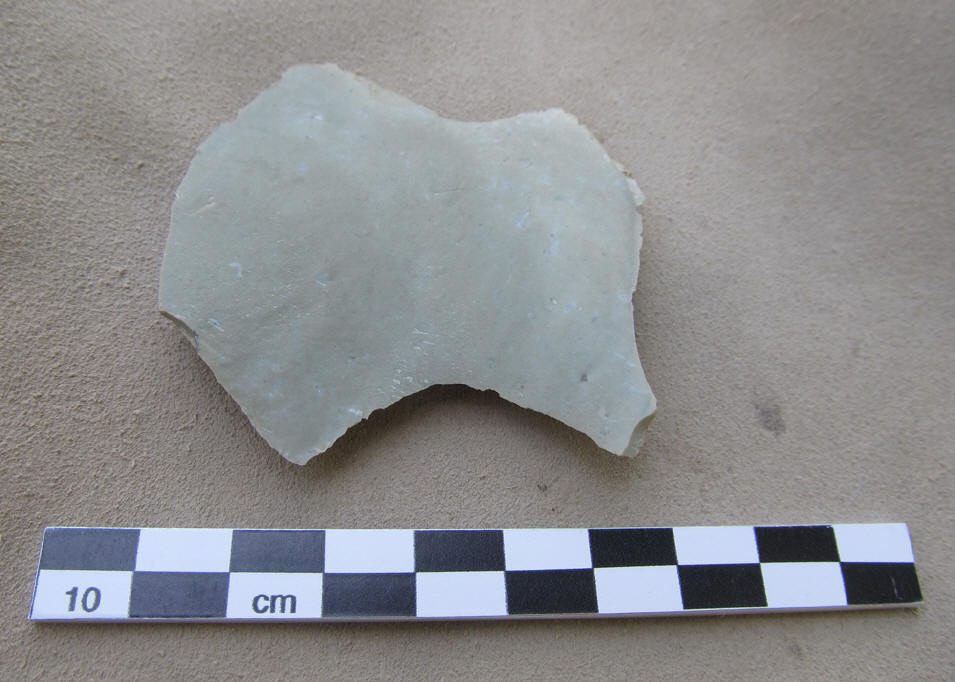
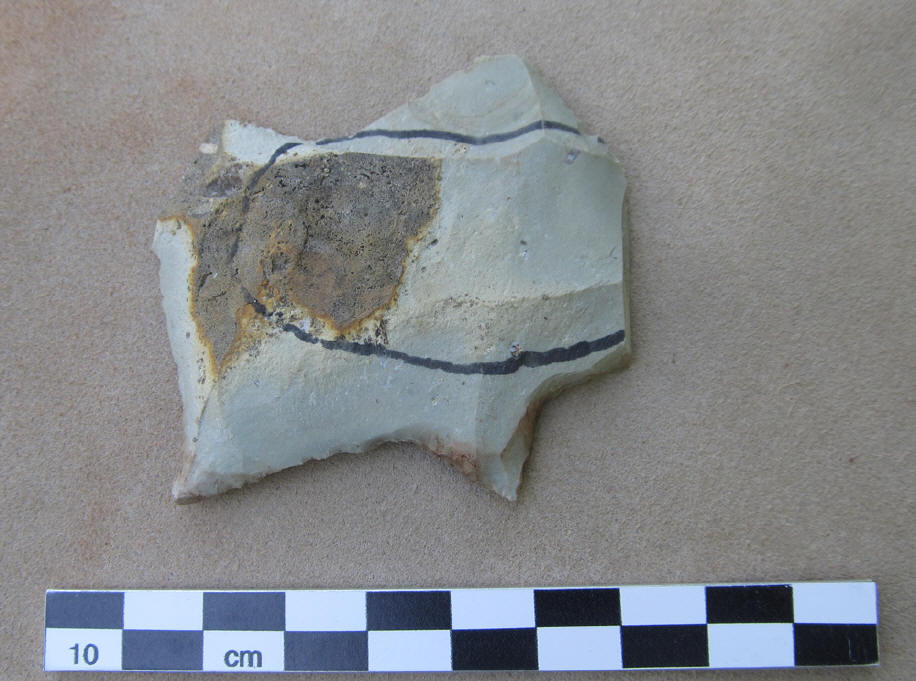
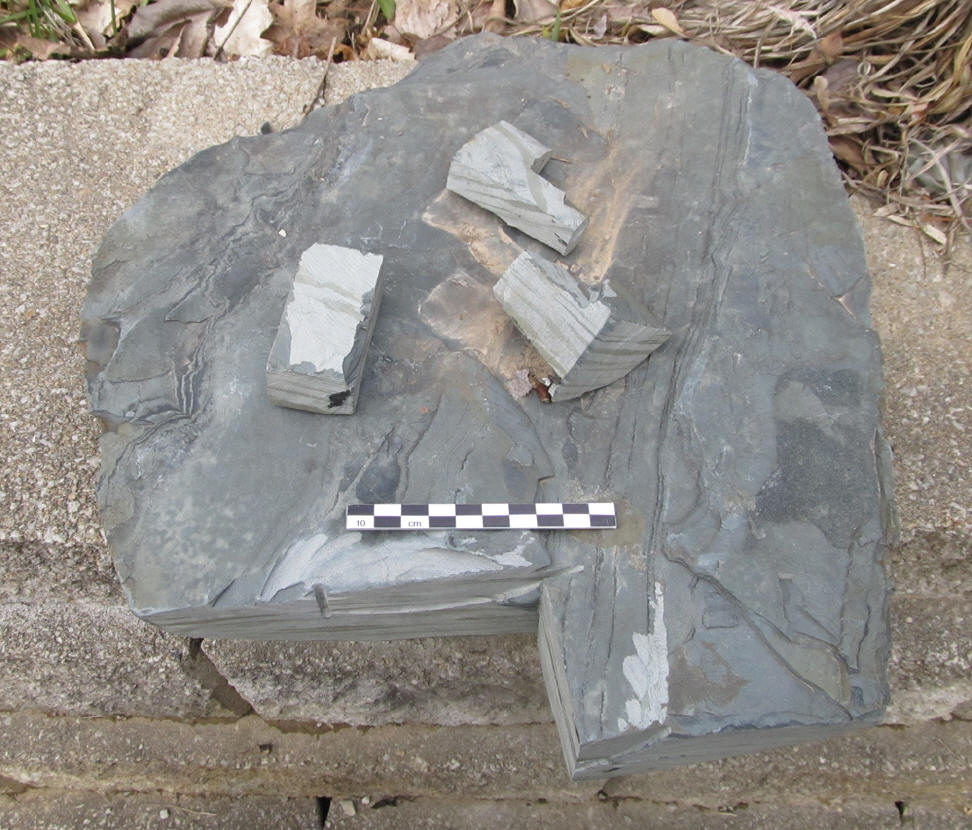 The bannerstone preform was cut from this piece of banded slate, using modern
tools.
The bannerstone preform was cut from this piece of banded slate, using modern
tools.
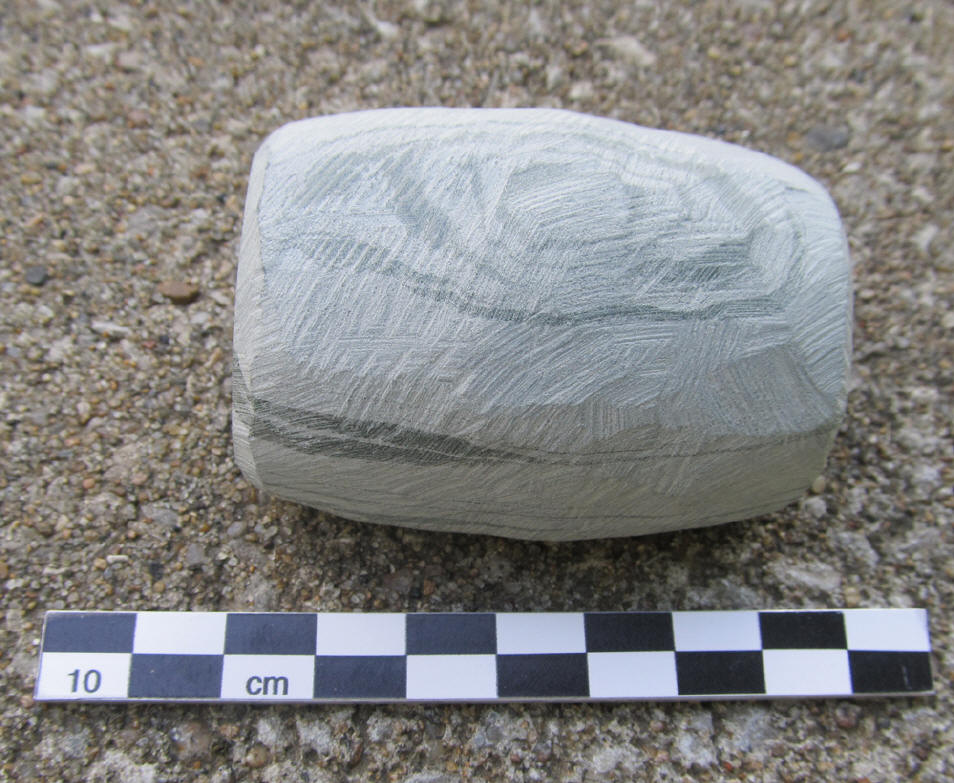

 The banded slate preform, prior to drilling. It
weighed 203.9gr, was 6.5cm long, 5.0cm wide, and 3.3cm thick.
The banded slate preform, prior to drilling. It
weighed 203.9gr, was 6.5cm long, 5.0cm wide, and 3.3cm thick.
 The asphaltum was heated on a make-shift stove
consisting of a couple of tin cans and a small candle. Once the Asphaltum was
heated, the template was glued to the preform. Because of the slick surface of
the preform, the ashpaltum would not stick. Therefore, it was decided to attach
the template to the wooden vise, rather than the preform. That worked well and
held the template in place until it was purposefully removed.
The asphaltum was heated on a make-shift stove
consisting of a couple of tin cans and a small candle. Once the Asphaltum was
heated, the template was glued to the preform. Because of the slick surface of
the preform, the ashpaltum would not stick. Therefore, it was decided to attach
the template to the wooden vise, rather than the preform. That worked well and
held the template in place until it was purposefully removed.
In preparation for the drilling, Larry has to winnow the chert dust collected from flintknapping activity, on the floor, in his basement. This is how it works: http://www.youtube.com/watch?v=IWp43IELSPw&feature=plcp
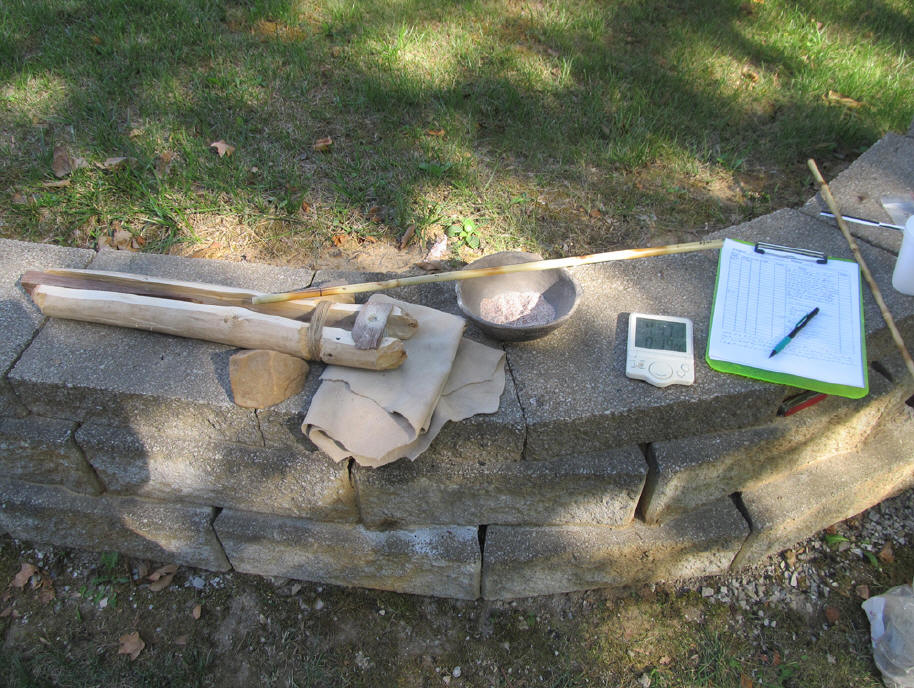 This is Larry's set-up. Chert debitage was used
as the abrasive. My stop-watch is nearby as well as my notebook.
This is Larry's set-up. Chert debitage was used
as the abrasive. My stop-watch is nearby as well as my notebook.
It's time to start drilling. http://www.youtube.com/watch?v=9yBtF4D8y3A&feature=plcp
The grit kept moving off to the sides of the template because there was a small void left by using the reamer to make the template. Larry kept adding more grit until the void was filled. Larry noticed dust coming out of the hole at about the 5-minute mark. Larry found that he could only drill for about 2 minutes at a time before taking a break. He used to be able to drill for up to 10 minutes at a time, but old age has crept in since those days. Here's the video, taken at the 10-minute mark: http://www.youtube.com/watch?v=VIGBQhUD4V0&feature=plcp
22/August/2012
 This is a close-up of the attached template, with the chert drilling grit still
in place, at the 15-minute mark.
This is a close-up of the attached template, with the chert drilling grit still
in place, at the 15-minute mark.
http://www.youtube.com/watch?v=nKToZE0rgNw&feature=plcp
Here's my set-up description at the 19-minute mark: http://www.youtube.com/watch?v=vozEWpJ86n0&feature=plcp
At the 30-minute mark, Larry stopped and shot this video of removing the template. The hole is now 3.5mm deep after only 29 minutes, 59 seconds.
http://www.youtube.com/watch?v=5cbCBIGKHHc&feature=plcp
24/August/2012
From the 1/2-hour to 1-hour mark, Larry used a bow drill and noticed that it cut his productivity almost in half. At the 1-hour mark, he reverted to using the hand drill technique.
After about 1 hour of drilling, Larry noticed that his hands needed to be wetted often to keep the drill from slipping in his grip. He wet a towel and kept it nearby, to solve that problem. Eventually, Larry wetted his hands every second trip down the drill. This also allowed him to apply more downward pressure. Larry believes that simple solution also almost doubled his productivity.
At the 1-hour mark
Here's the history of the drilling: Hours Minutes seconds millimeters cane loss
Now, Larry tries using a bow drill 29 59 3.5mm
At 1 hr, Larry reverts to hand-drill 1 0 0 4mm 7mm
1 30 0 7mm 1.1cm
25/August/2012 2 0 0 11mm 1.7cm
26/August/2012 2 30 0 15mm 2,3cm
3 0 0 18mm 2.7cm
3 30 0 21mm 3.2cm
27/August/2012 4 0 1 23mm 3.5cm
4 30 0 28mm 4.0cm
5 0 0 30mm 4.5cm
28/August/2012 5 30 0 32mm 4.8cm
6 0 0 36mm 5.5cm
29/August/2012 6 30 7 40mm 6.0cm
7 0 0 43mm 6.5cm
7 30 0 45mm 6,8cm
8 0 0 46mm 7.0cm
8 30 0 47mm 7.5cm
For some reason, productivity is way down and the cane is splitting badly so, it was decided to drill from the opposite end. Template #2 was glued to the opposite end (to the vise) and drilling was continued from that end. Started drilling from opposite end at: 8-hours, 41-minutes, and 57-seconds.
30/August/2012
Here's the video of starting to drill from the opposite end: https://www.youtube.com/watch?v=5zK6X7kuST0
Here's one at the 9 hour, 27 minute mark. http://www.youtube.com/watch?v=-xxHq6HLhSk&feature=plcp
8 41 57
31/August/2012 9 0 1 2mm 5mm
9 30 0 9mm 1.2cm
10 0 0 12mm 1.7cm
Break through occurred at: 10 28 5 Here's the video of the break through.
http://www.youtube.com/watch?v=wPN9zkXD72w&feature=plcp
Continued to try to make the core
come loose to: 10 35 48
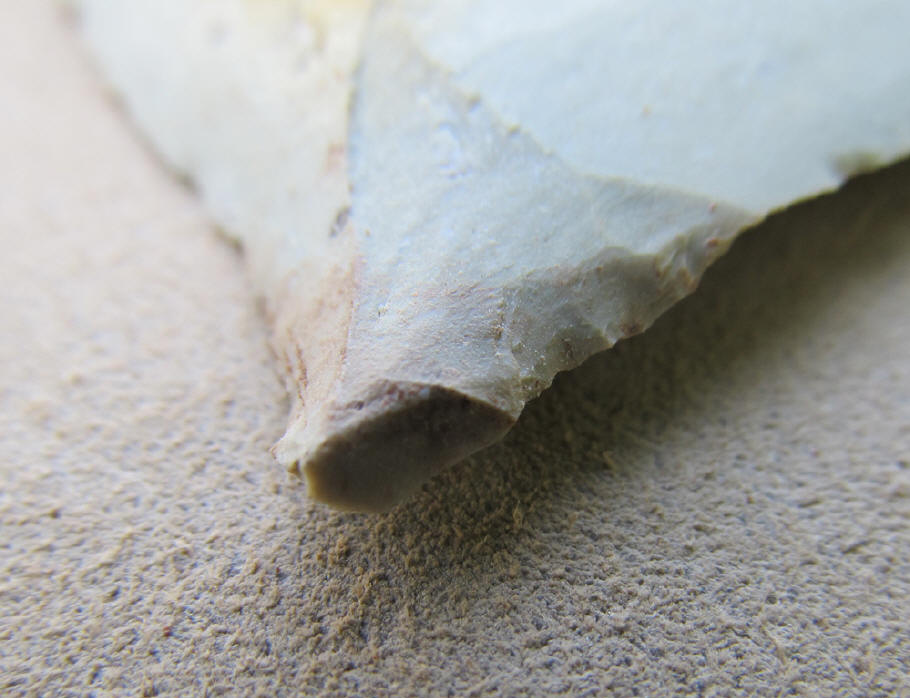
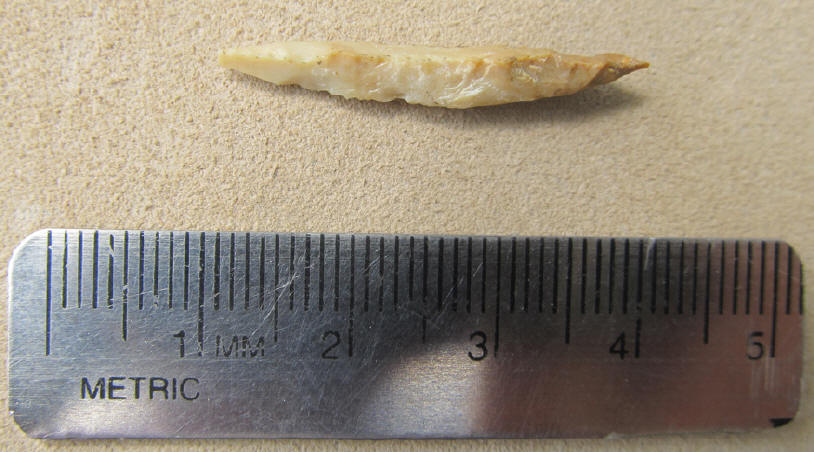
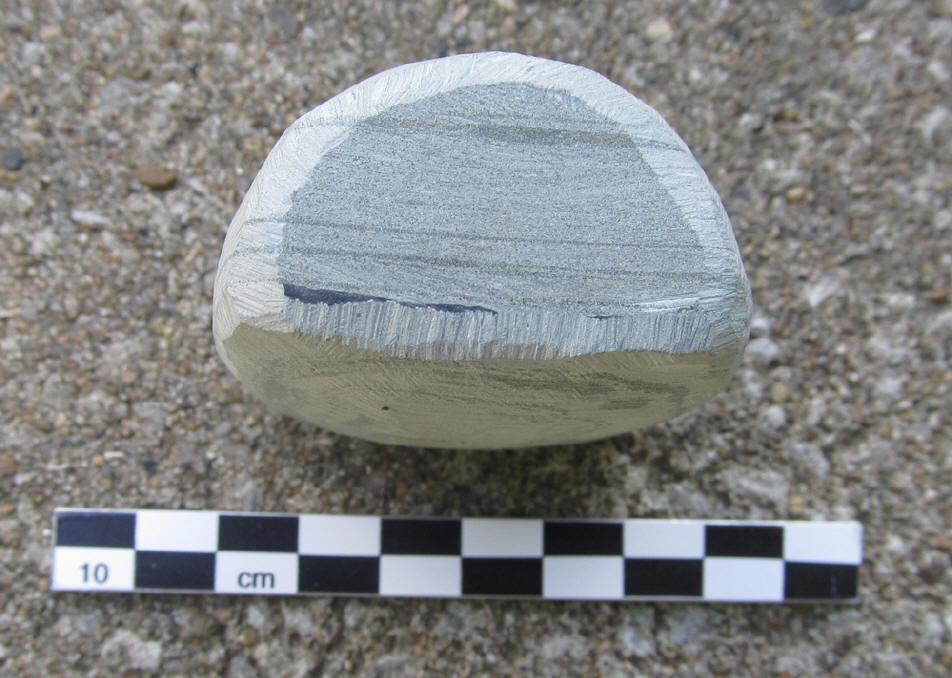
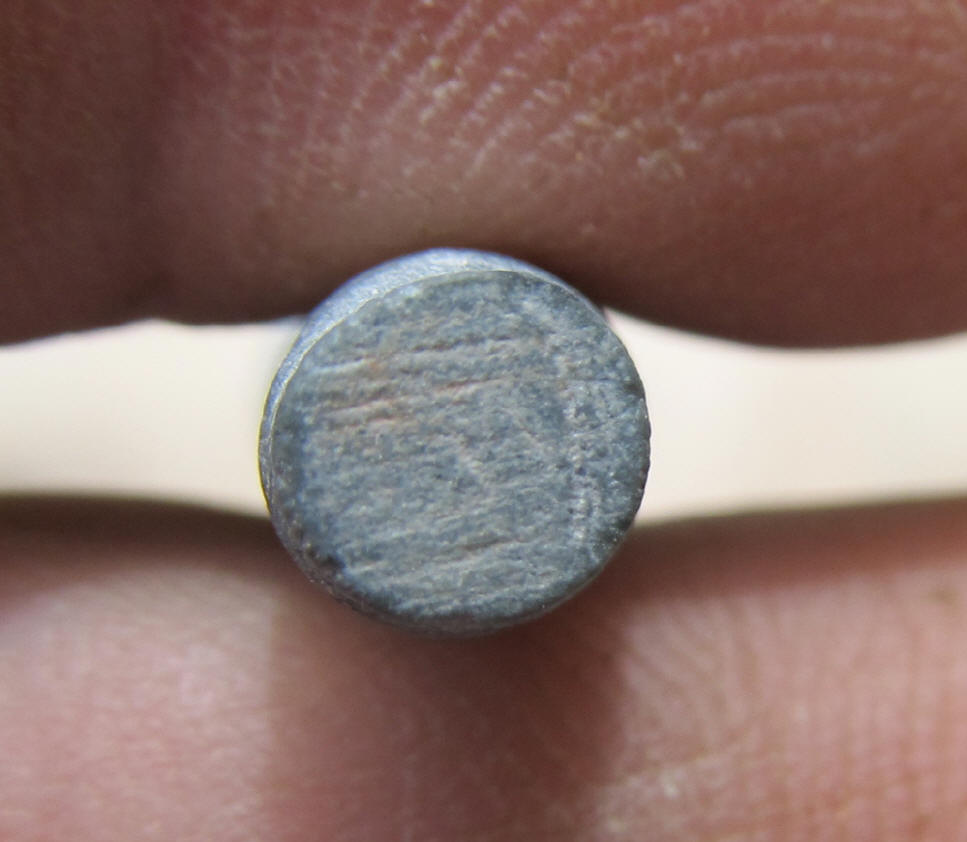
There is a crescent-moon-shaped portion
missing where the drill partially broke through.
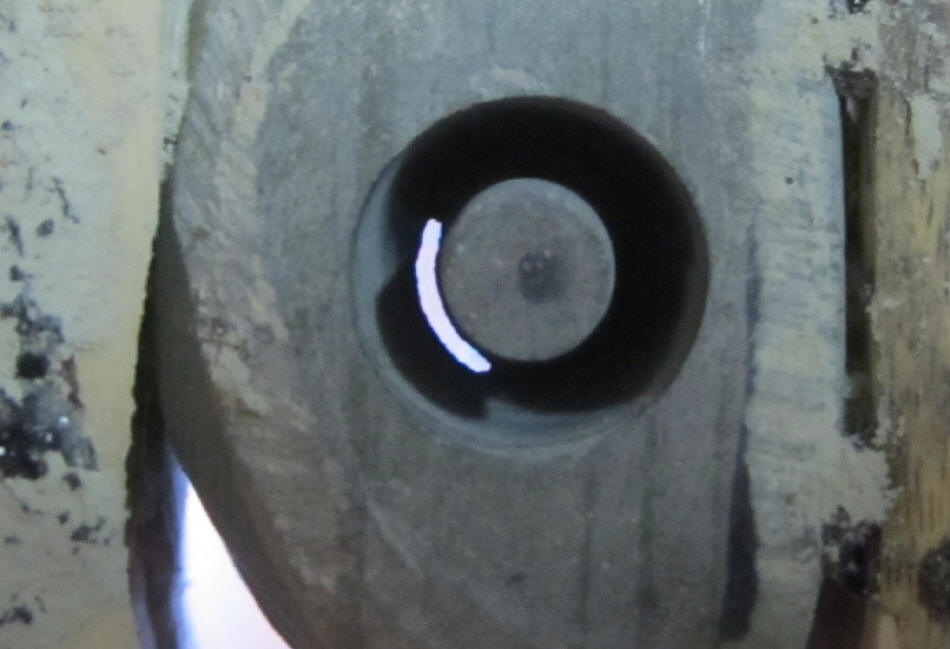 All the grit now falls through the hole and the drilling is ineffective. Larry
solved this problem by squeezing mud into the hole, from the opposite end. This
was helped by using a piece of cane, the same size as the first hole, to push
the mud into the hole. The mud was left to dry overnight and drilling resumed
the next day. The dried mud allowed the grit to say in place, therefore, the
drilling became efficient once again. Once the core came loose, the
bannerstone was soaked in water and the core was removed when the mud dissolved
enough to remove it from the bannerstone preform. The core came loose at:
All the grit now falls through the hole and the drilling is ineffective. Larry
solved this problem by squeezing mud into the hole, from the opposite end. This
was helped by using a piece of cane, the same size as the first hole, to push
the mud into the hole. The mud was left to dry overnight and drilling resumed
the next day. The dried mud allowed the grit to say in place, therefore, the
drilling became efficient once again. Once the core came loose, the
bannerstone was soaked in water and the core was removed when the mud dissolved
enough to remove it from the bannerstone preform. The core came loose at:
10 42 22 65mm 1.8cm
Total can loss = 7.5cm + 1.8cm = 9.3cm
Luckily, the cores matched up and no
other grinding was needed to "mesh" the two holes.
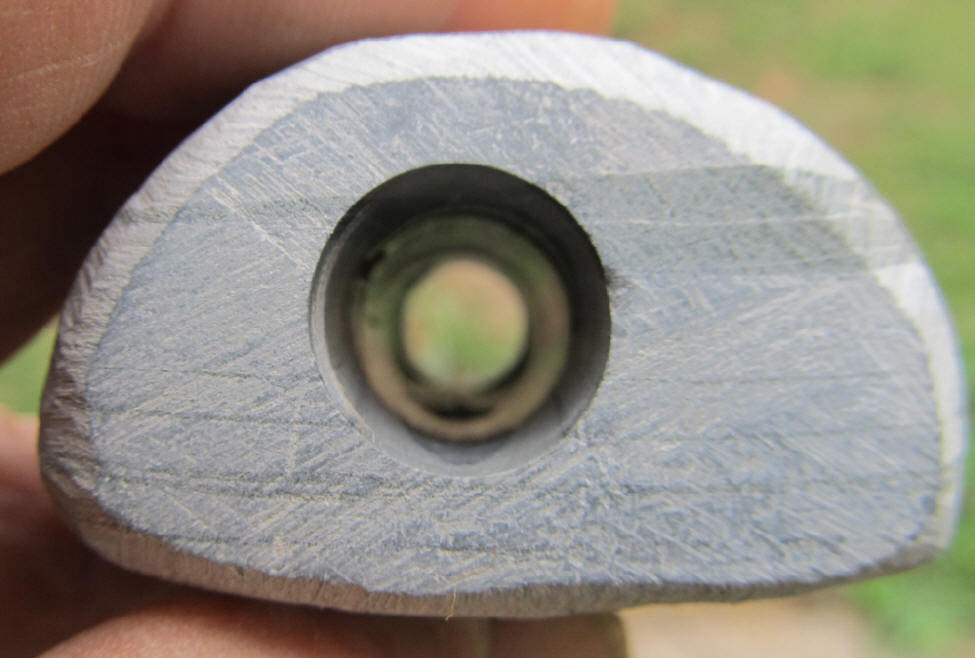
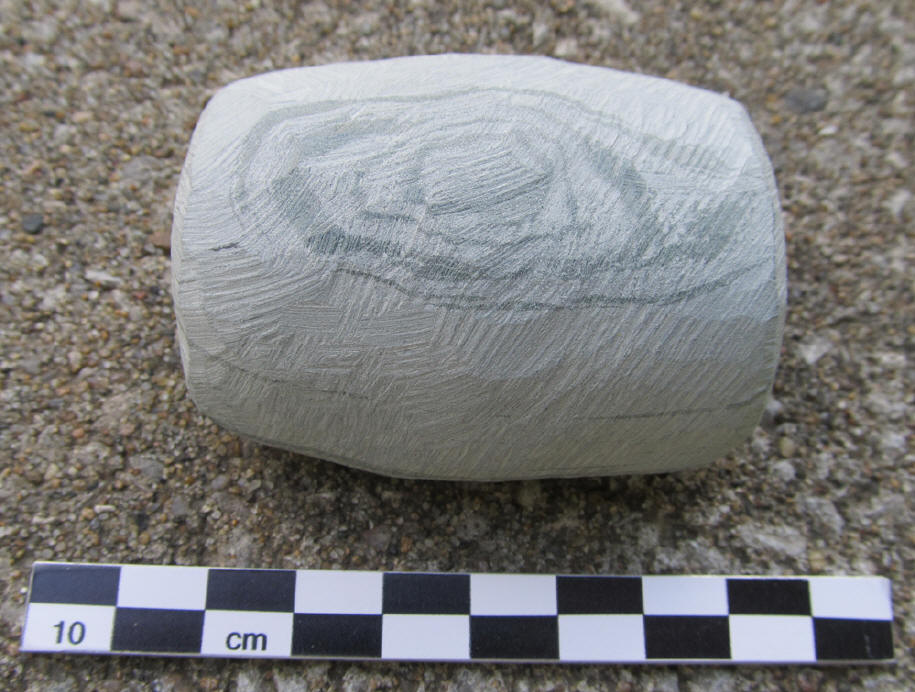
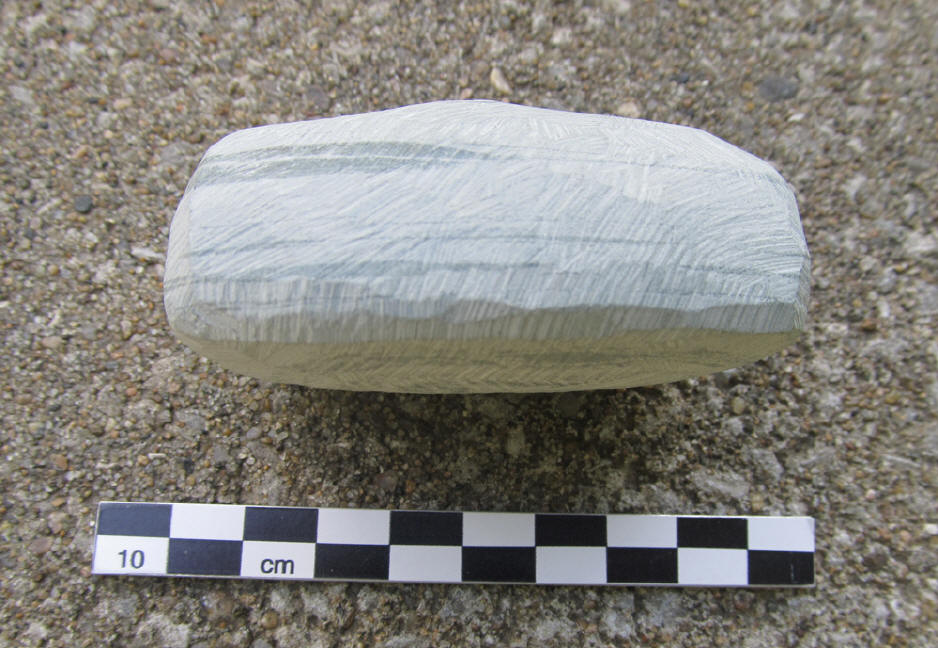
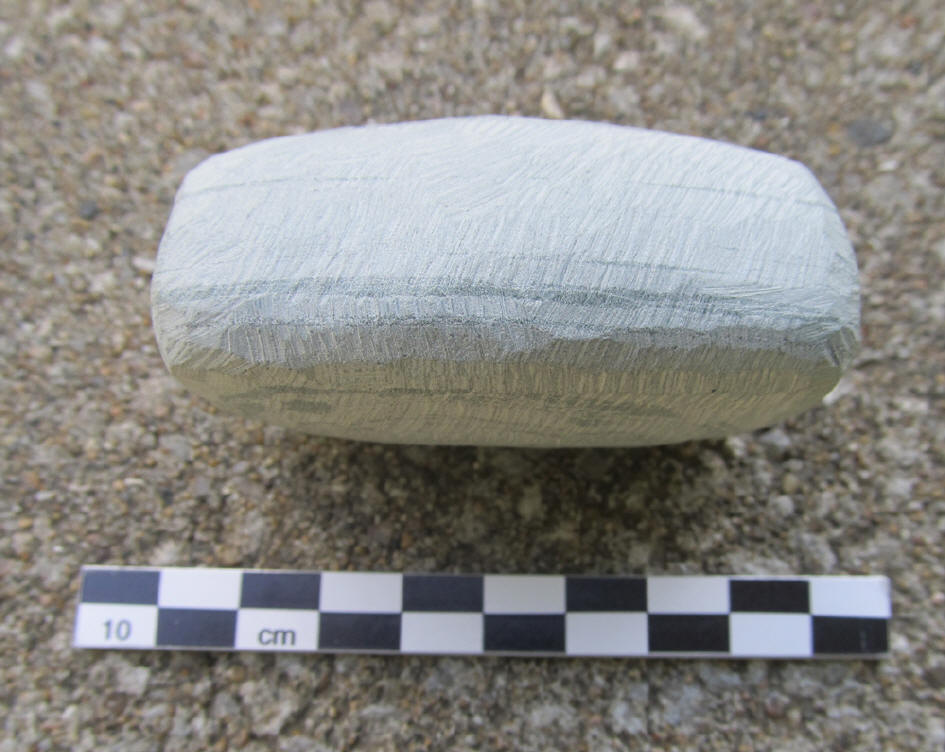
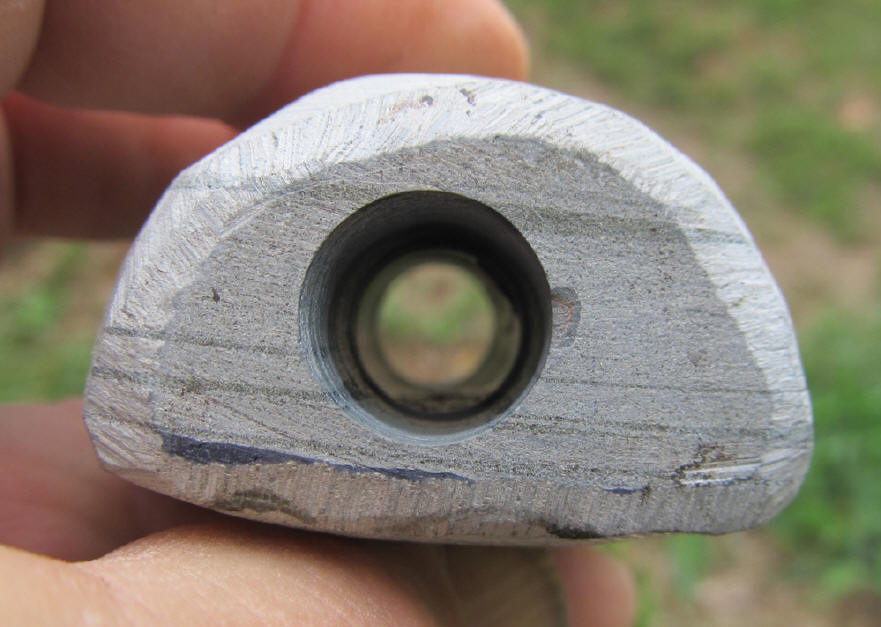 The weight of the banner before shaping but after the drilling was 181.2g.
Here's the core:
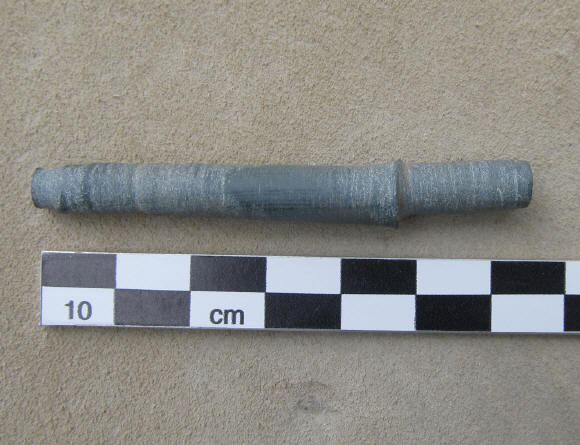
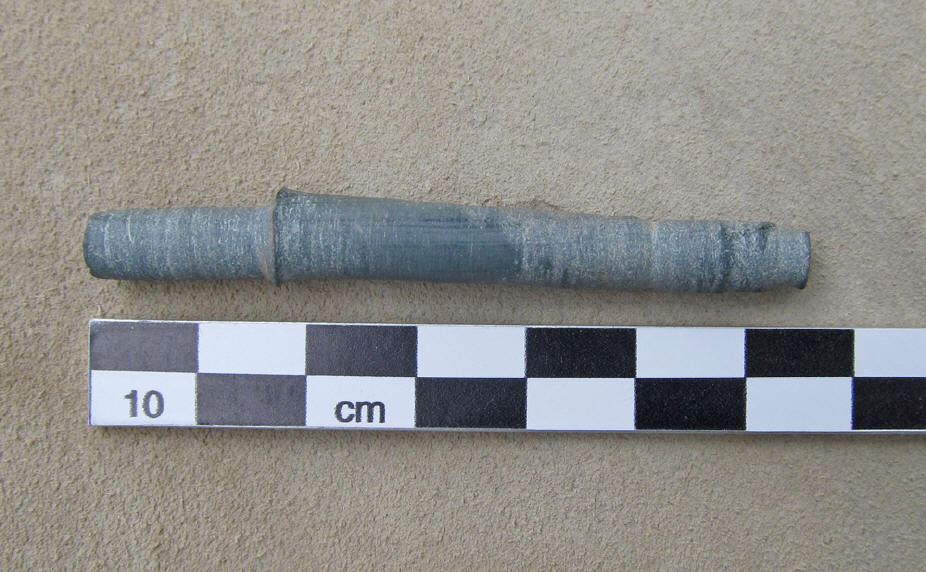
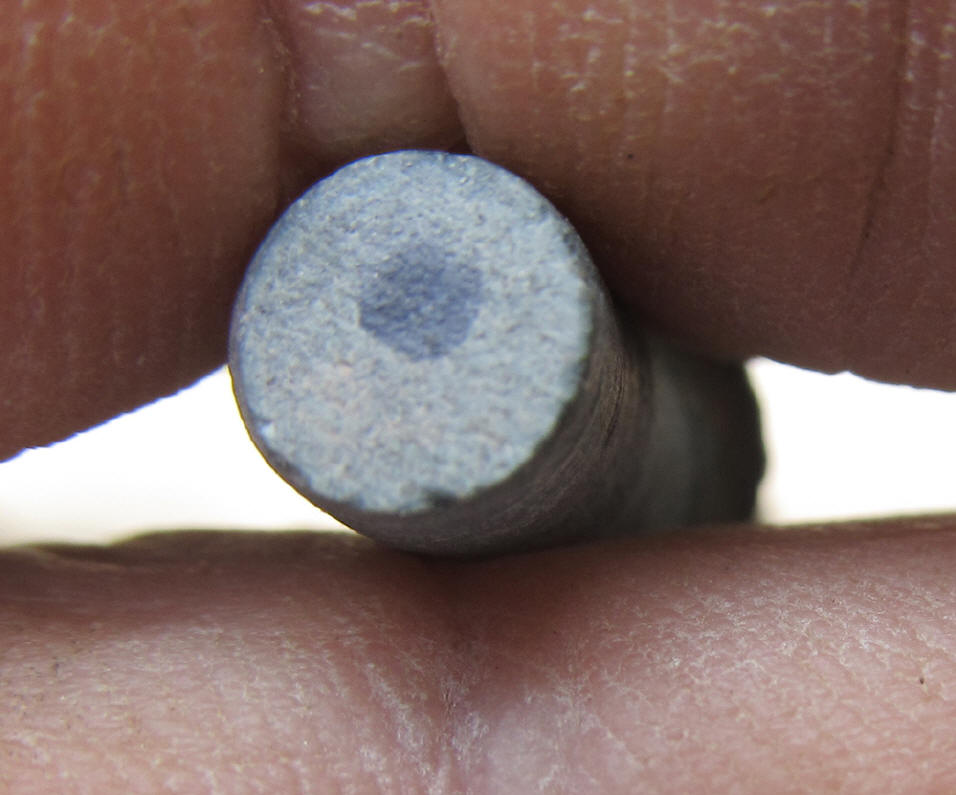 Core length = 6.5cm (widest point = 9.0mm, narrowest point = 5mm. The widest
portion is 4.8cm from the top.
Core length = 6.5cm (widest point = 9.0mm, narrowest point = 5mm. The widest
portion is 4.8cm from the top.
On to: PAGE 2